Showing posts with label sewing for family. Show all posts

Saturday, February 19, 2011

No Sew Gnomeo and Juliet shirt Tutorial

(image from here)

Have you taken your kids to see this yet? I definitely recommend it! I've been looking forward to it coming out for months. We didn't go opening weekend because I hadn't made our outfits yet. So yesterday I finally finished them up and the kids and I had a date night. I love how they turned out. :)

I don't know what's going on with his face in these pictures but these are the best I could get so there ya go!
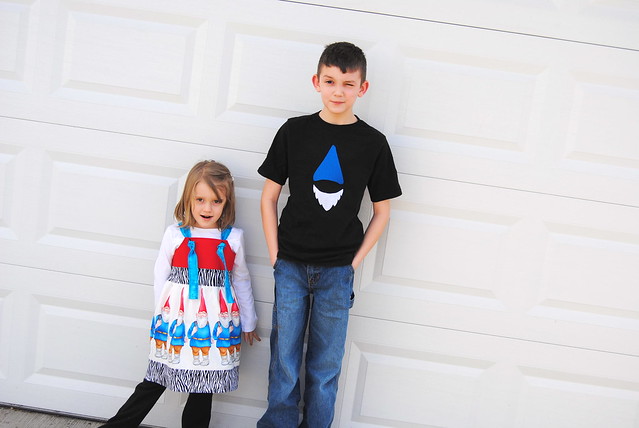
Lucas is Gnomeo.

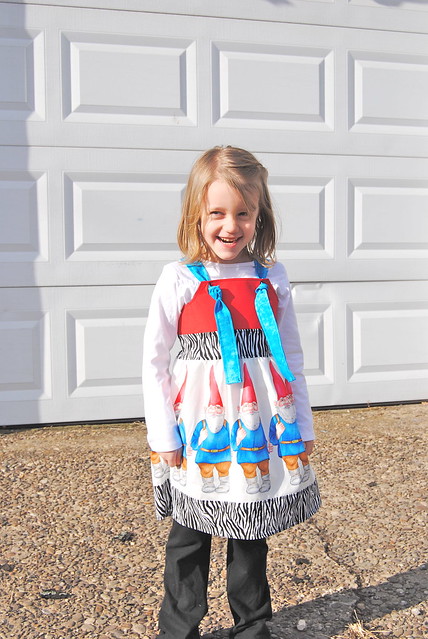
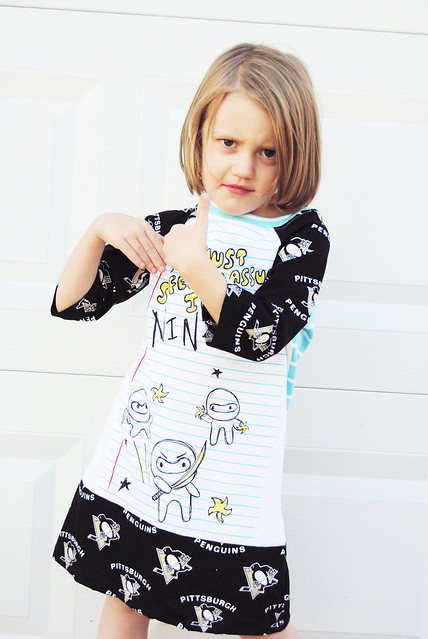
Reagan's dress is by far the favorite thing I've ever made. I have a thing for gnomes and when I saw this Michael Miller fabric I knew that I wanted to make Reagan a dress out of it.

I thought maybe you guys would like to make your own Gnomeo and Juliet shirts. This is my first time doing a pdf so it's not the best. Plus it's hand drawn. Enough said. Ok on to the tutorial....

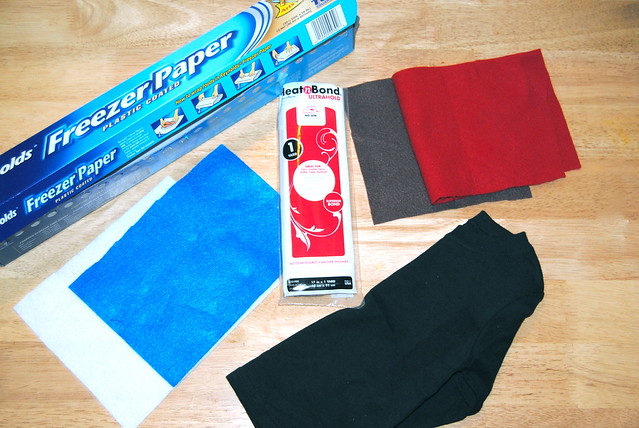
First gather your supplies:

Freezer Paper
Heat n Bond
blue and white felt for Gnomeo
red and brown felt for Juliet
shirts
scissors
iron
pen/pencil


First you are going to print out the pdf of the pattern. It's down there at the bottom of the post. Cut out a piece of the freezer paper and get your pencil ready.

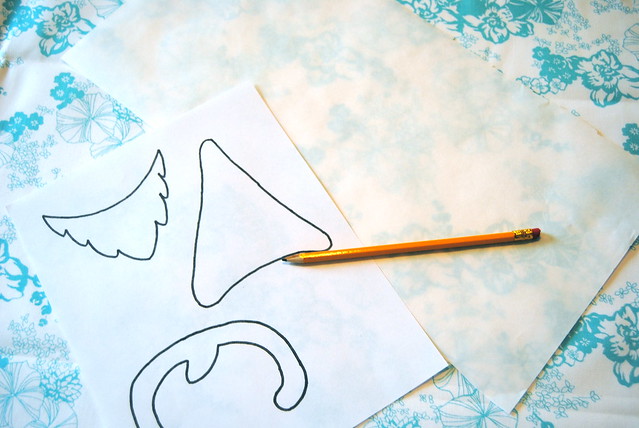
Now trace the gnome hat, hair and beard onto the non shiny side of the freezer paper. You will want to trace 2 hats if you are making both Gnomeo and Juliet.

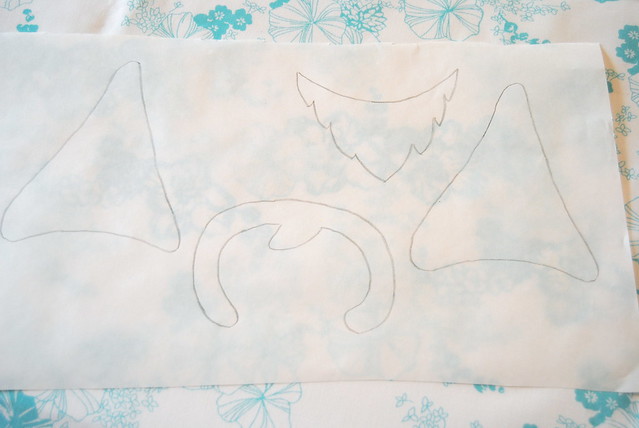
Cut out your patterns and iron them shiny side down onto the right side of your felt.

Flip your felt over and apply the heat n bond according to the package directions.

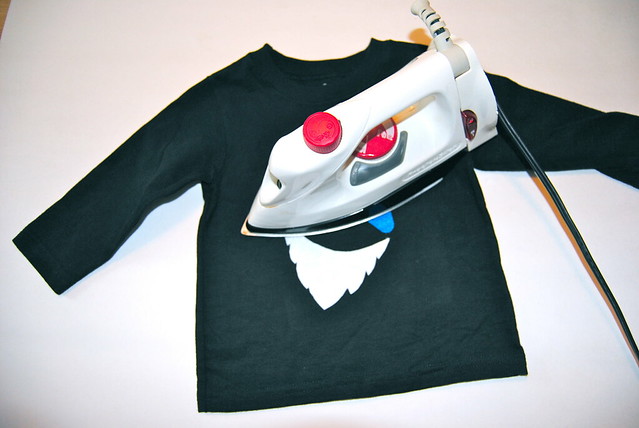
Cut out along the lines on your freezer paper pattern and remove both the freezer paper and the paper of the heat n bond. For Gnomeo arrange the blue hat and the white beard onto your garment until it's just how you like it. Make sure your iron is nice and hot and iron over your pieces. I find that with felt it's better to press, lift and repeat. So I'm not rubbing my iron around, just lift it up and lay it back down and press firmly.

Make sure your felt is all stuck on there. Keep pressing until it is.
Since the felt is thicker I like to flip the shirt inside out after I've pressed it right side out and then press the inside also to help keep it secure.

You can also stitch around your felt with your sewing machine to give it extra stability but I didn't here.

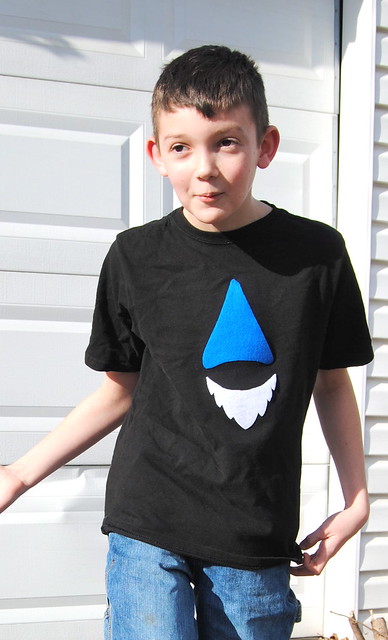
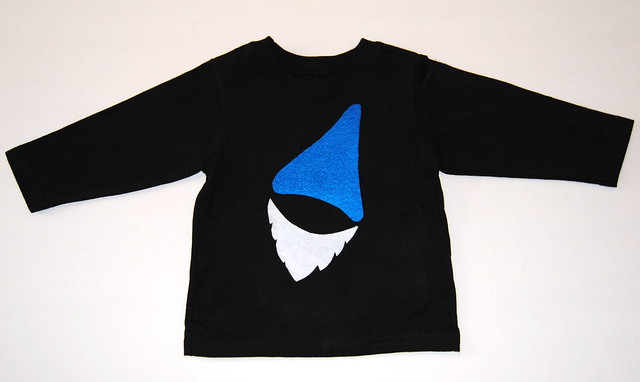
Here is the final Gnomeo shirt!

Do the same thing for the Juliet shirt but when you get to the point of arranging it on your garment make sure to overlap the hat over the hair just a bit. You can kinda see in this picture what I mean.

Here is the Juliet shirt finished. I couldn't get a good picture of this one, sorry.

Here are the kids and I ready to go on our date. I had a neighbor lady take our picture because I couldn't find the tripod. I felt bad for stopping her on the street so we weren't worried about lighting or trying to get a good picture. We had her snap one and let her go home. :)

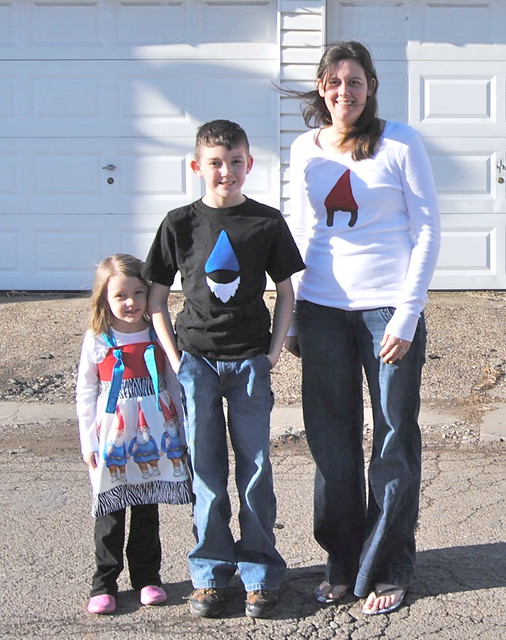
Everyone loved our outfits and it was so nice to go out with my littles on a date.

Here is the pdf. Again, not the best...hand drawing is something I'm not good at, at all. If you love it please let me know and if you make a shirt of your own I would love to see it. :)

If you hate it I can live without hearing about it. ;)

Oh and did you see over there on my sidebar I added buttons for my facebook page and twitter. I would love it if you guys "liked" me and followed me!!


gnomeoandjuliet


Tip Junkie handmade projects

Tuesday, November 23, 2010

A few things...

...I've been working on are some dresses and some shirts. I love the idea of re-using articles of clothing that otherwise would be thrown away and making them into something unique.

This "Ninja" Dress is my favorite of the bunch. Here Reagan is posing as a ninja. She was such a little model today. As soon as she heard the camera click she would strike a new pose and hold it until she heard it click again. I have about 60 photos just from today because she was to darn cute to make her stop.

This I think is an original. I looked online to see if anyone else had done it or something similar but couldn't find anything. It's my "I'm not a BOY!" Tee. I have a thing for mustaches right now.

And isn't my model adorable? :)

The "tie" shirt was to cute to pass up on making some. I'm loving it with some Steelers fabric. What a handsome little man.

Finally, my little Christmas dress for Reagan. It for sure needs something added but not sure exactly what I want yet so this will do for now.

I ordered some fabric to make the kids some Christmas pj's this year. As soon as I get them I will whip them up and post some pictures. I don't think I've ever had my kids in Christmas pj's...EVER. So this will be extra fun. :)

Monday, August 2, 2010

10 minute Skirt tutorial

Want to make a quick and easy skirt for your little girl or you?
This skirt seriously took me no more than 10 minutes to make. I'll show you how I did mine.

I found a window valance at a yard sale and bought it for only .25 cents. Get out! I was so excited. I had no idea where I was going to hang it but I loved the red stitch detail so had to have it.

I decided that hanging it in a random room with not another matching valance wasn't something I wanted to do so it has been sitting here for a few months.

The other day I finally decided what I wanted to do with it. I figured it would make the perfect skirt for Reagan and it would be so easy to make because I wouldn't have to even make a waistband for the elastic. I just used the opening for the curtain rod.

So first I cut my elastic the length I needed for my daughter's waist.

Then with a safety pin I pulled the elastic through the curtain rod opening until just a tiny bit was hanging out.

I pinned the elastic in place.

And sewed that opening shut.

Here is the first side I did sewn shut.

Now continue pulling the elastic through the curtain rod opening until you have it just poking out the other side and pin in place.

Sew this side shut now.

With right sides together pin the open end of the skirt and sew.

If you have a serger serge your seam, if not just do a zig zag stitch.

Now you are all done! Flip the skirt right side out and throw it on your little one!

The valance was long enough that I could have made this skirt for me but it would have been a mini skirt and I'm not sure the world wants to see me in a mini. :)

It's a pretty full skirt so it is good for twirling and dancing!

I am planning on doing some thrift shopping this week to try to find some more cute valances and maybe I'll make myself one just to see what it would look like as an adult version.

I just love the stitched detail.

I need to head out now to find a matching red tank top to match...the white just isn't the same shade and is driving me crazy.

I hope you guys like the tutorial and if you make one please email me a picture. I would love to see them.


Visit thecsiproject.com

Friday, July 30, 2010

Found It!

This dress was going to be her 4th of July outfit but after making it I set it aside and completely forgot where I put it.

This is my first time doing a rounded collar. I think it turned out pretty good.

I don't know if I'll be making anymore like it though.
Maybe if I used a pattern it would have been easier.

Does anyone have any tips for an easy rounded collar?

I will have my weekly knock off posted later tonight. Time to ice some cupcakes. :)


LinkWithin

Related Posts with Thumbnails